
Ask a teacher what happens when their district adopts a new platform, and you’ll usually get some version of the same answer: another tab. Another login. Another place students have to be told to go, three separate times, before third period ends.
So when teachers hear that a Teaching Aide can support students while they’re working, the reasonable first question isn’t “what can it do?” It’s “where does it live, and how do I explain it to my sixth graders?”
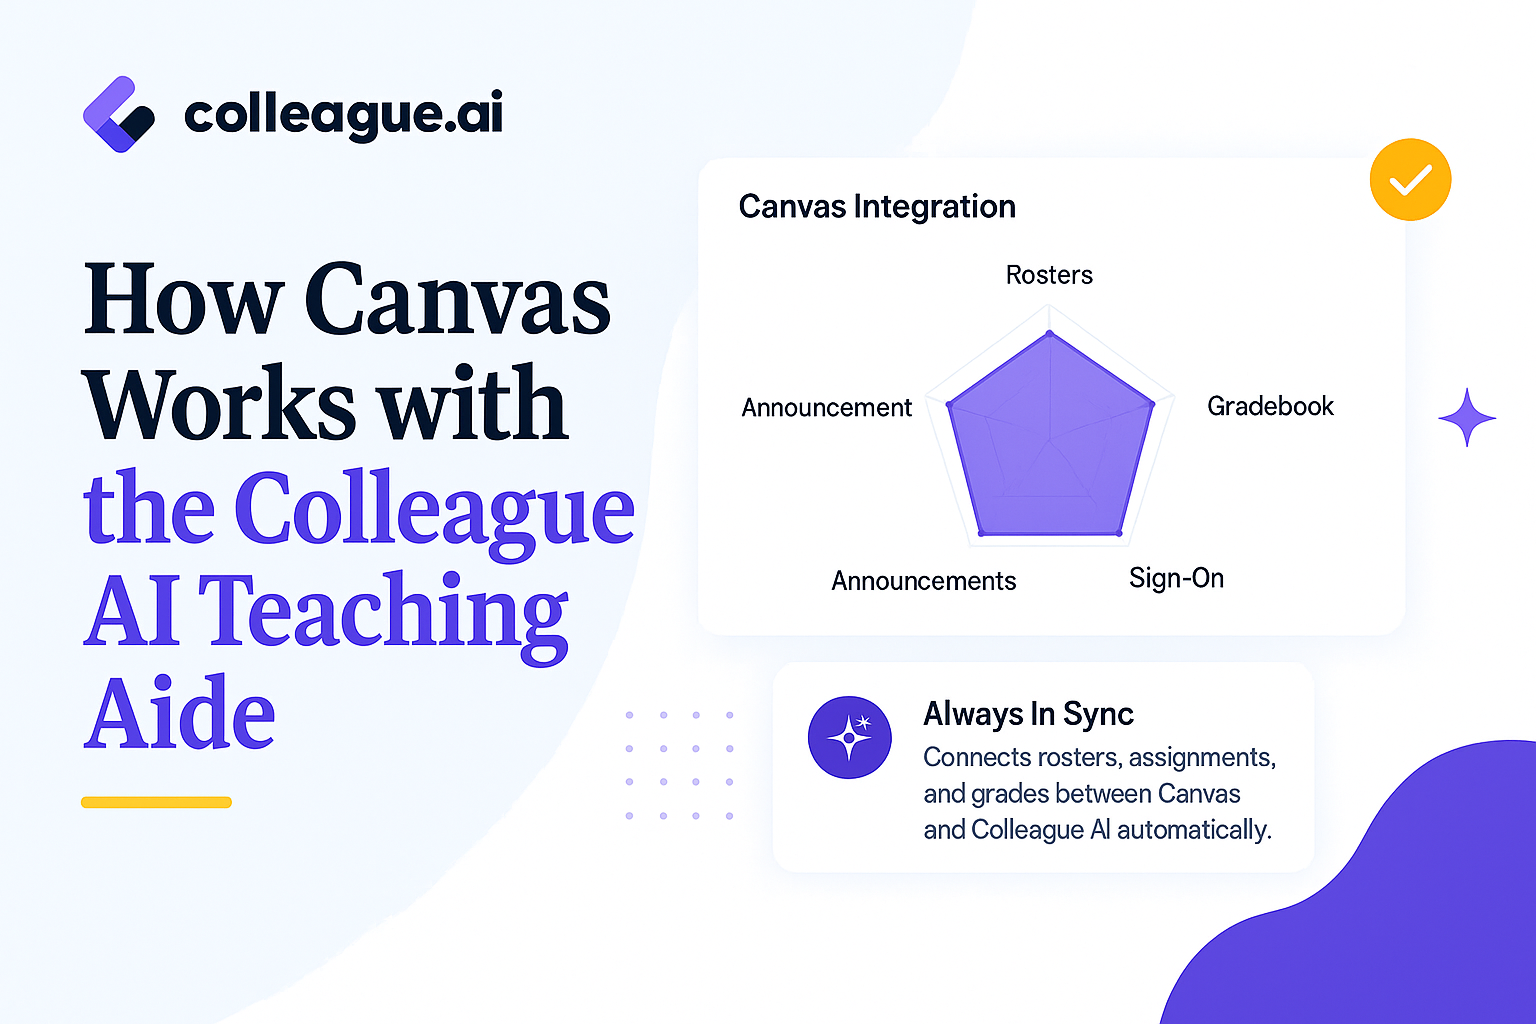
For those not quite yet ready to dive into Colleague AI’s classroom feature, the answer can be that it lives in Canvas. In the module you already built, or the assignment you already wrote.
Start with the learning, not the link
Before you touch Canvas, build the Teaching Aide in Colleague AI.
A Teaching Aide is a student-facing learning experience you design and control. You decide what it knows, what it helps with, and where it stops. A teacher might build one to help students rehearse an argument before a seminar, work through a concept in math, question a primary source, practice academic vocabulary, get formative feedback partway through a revision, or simply, a social emotional check-in.
The instructional goal comes first. What do you want students thinking about, practicing, or producing while they’re in there? Build around that, add the context and materials they’ll need, and preview it from the student side before anyone else sees it.
The difference between scaffolding and shortcutting has always been a professional judgment call. Teaching Aide leaves that call with you.
When it’s ready, copy the Teaching Aide’s URL. That link is what you’ll place in Canvas.
Add a Teaching Aide to a module
Modules are where most Canvas courses actually live, so this is the version most teachers will use.
- In Canvas, open your course and go to Modules.
- Find the module where the Teaching Aide belongs and click the + button.
- In the Add dropdown, choose External URL.
- Paste the Teaching Aide’s link into the URL field.
- In Page Name, write something that tells students what they’re walking into. “Teaching Aide” means nothing to a seventh grader. “Practice Your Seminar Response” or “Get Feedback on Your Draft” means something.
- Decide whether to check Load in a new tab. Leaving it unchecked keeps students inside Canvas.
- Click Add Item.
- Publish it when you’re ready for students to see it.
In a Canvas module, select “External URL” and paste the link to your Colleague AI Teaching Aide.
Students click it the way they’d click any other module item. No separate login, no new URL to remember, no tab to lose.
Add a Teaching Aide to an assignment
The same link works inside an assignment, which is what you want when the AI interaction supports a larger task rather than standing on its own.
Say your students are preparing for a Socratic seminar. Your Canvas module already has the reading, the annotation guidelines, the discussion expectations, and the prep assignment. What it doesn’t have is anywhere for a quiet student to try out a claim before saying it in front of twenty-eight people.
So you build a Teaching Aide that asks students to state a claim, bring textual evidence, explain their reasoning, and then answer a follow-up question or two. You add the link to the prep assignment. The sequence students move through looks like this:
Read and annotate, practice with the Teaching Aide, refine the thinking, come to the seminar ready.
How you use the Teaching Aide is an instructional decision
Giving students access to AI is one decision. Deciding when and why they should use it is a different and more interesting one.
A Teaching Aide placed before a task can activate prior knowledge or let students rehearse an idea. Placed inside a task, it can ask guiding questions or give formative feedback while the work is still moving. Placed after, it can push students to explain their reasoning or take another pass at a draft.
You can wield the same tool for three different instructional purposes!